

Wow, I never knew this!
Bathroom maintenance can often feel like a daunting task, especially when it comes to dealing with cracked caulking. This common issue not only affects the aesthetic appeal of your bathroom but can also lead to water damage if not addressed promptly.
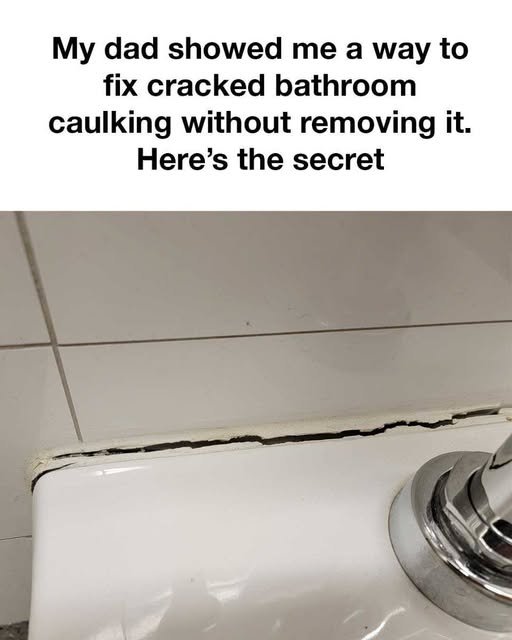
My dad, a seasoned DIY enthusiast, shared with me a simple yet effective method to fix cracked bathroom caulking without the hassle of removing it entirely. This technique saves time, effort, and money, making it a perfect solution for those who want to maintain their bathroom’s integrity without a complete overhaul.
Understanding the Problem with Cracked Caulking
Cracked caulking in bathrooms is a prevalent issue due to the constant exposure to moisture and temperature fluctuations. Over time, caulk can become brittle and lose its adhesive properties, leading to unsightly cracks and gaps.
These imperfections not only detract from the bathroom’s appearance but can also allow water to seep through, potentially causing mold growth and structural damage. Addressing cracked caulking promptly is crucial to prevent these problems from escalating.
Materials Needed for the Caulking Fix
To execute this repair method, you’ll need a few basic materials: a tube of silicone caulk (preferably in a color that matches your existing caulking), a caulk smoothing tool or a plastic spoon, a utility knife, rubbing alcohol, a clean cloth, and painter’s tape. These items are readily available at most hardware stores and are essential for ensuring a smooth and long-lasting repair.
Step-by-Step Guide to Fixing Cracked Caulking
CONTINUE READING ON THE NEXT PAGE 🥰💕
