
-Step-by-Step Instructions: Easy as Layer, Mix, Chill
1. Layer the Cookies and Bananas
Line the bottom of a 13×9-inch dish with one box of vanilla wafers.
Slice the bananas and layer them evenly over the cookies.
> Tip: Slice bananas just before layering to prevent browning.
-2. Make the Pudding
In a medium bowl, whisk together milk and pudding mix with an electric hand mixer until smooth and thickened (about 2 minutes).
-3. Mix the Cream Cheese Layer
In another bowl, beat cream cheese and sweetened condensed milk until completely smooth.
Fold in the thawed whipped topping until well combined.
-4. Combine the Mixtures
Gently stir the cream cheese mixture into the pudding mixture until smooth and fluffy.
-5. Assemble the Layers
Pour the pudding mixture over the banana layer in the dish.
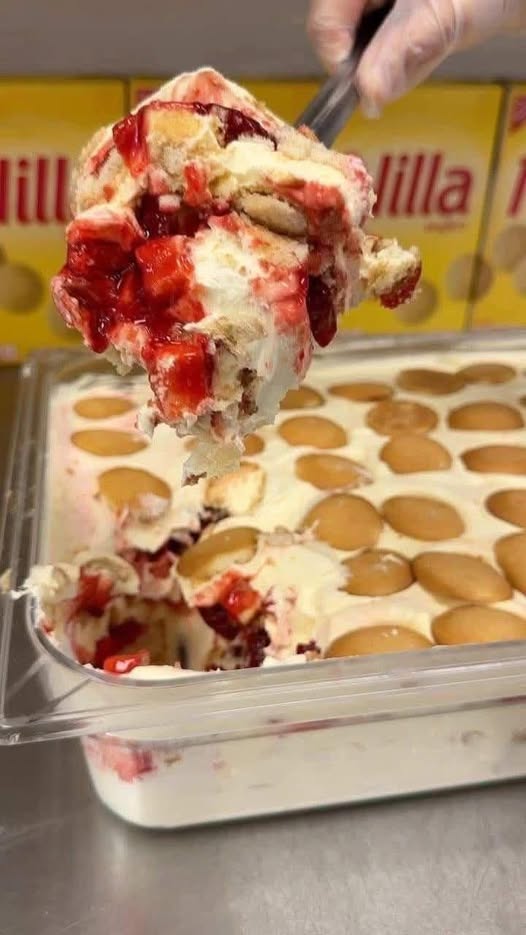
Top with chopped strawberries, spreading them evenly.
Finish with the second box of vanilla wafers on top for a crunchy, beautiful finish.
-6. Chill & Serve
Cover and refrigerate for at least 2 hours, or preferably overnight.
Serve chilled with extra strawberries or whipped topping, if desired.
-Flavor Variations & Add-Ins
This recipe is incredibly flexible. Try these delicious variations:
1. Chocolate Strawberry Banana Pudding
Add mini chocolate chips between layers or drizzle with melted chocolate before serving.
2. Strawberry Shortcake Twist
Swap vanilla wafers for shortbread cookies or ladyfingers for a cake-like texture.
3. Berry Medley Version
Mix raspberries or blueberries with strawberries for a colorful, berry-packed treat.
4. Tropical Vibes
Add crushed pineapple or mango slices along with the bananas and strawberries.
5. Cookie Lovers’ Dream
Use Golden Oreos instead of vanilla wafers for a crunchier, sweeter twist.
-Tips for the Best Strawberry Banana Pudding
Use firm bananas to prevent mushiness.
Chill for several hours so flavors meld and wafers soften slightly.
Slice strawberries just before serving for the freshest look.
Want cleaner slices? Use a sharp knife and chilled pudding for easy cutting.
-Serving Ideas: When & How to Share
This recipe is perfect for:
Family gatherings
Holiday potlucks
Summer BBQs
Baby or bridal showers
Church socials
Dessert bars at parties
Serving Style Ideas:
In a trifle bowl for a showstopping centerpiece
In mason jars for individual desserts
As pudding “cups” using plastic wine glasses or mini dessert bowls
As a layered cake substitute for birthdays
-Make-Ahead, Storage & Freezing Tips
Make Ahead:
Prepare up to 24 hours in advance for peak flavor and texture. The wafers will soften slightly, giving a cake-like feel.
Storage:
Cover tightly with plastic wrap or a lid and refrigerate for up to 4 days. Best eaten within the first 48 hours for optimal texture.
Freezing:
Not recommended. The texture of the cream and bananas doesn’t hold up well when frozen and thawed.
-Nutrition Breakdown (per serving, approx.)
Calories: ~380
Fat: 18g
Carbohydrates: 50g
Sugar: 30g
Protein: 5g
> Note: These numbers vary depending on brands and portion sizes.
-Frequently Asked Questions (FAQs)
Can I use homemade whipped cream instead of frozen topping?
Yes! Use 2 cups of homemade whipped cream, sweetened to taste.
Can I make this recipe in a trifle dish?
Absolutely. It looks beautiful in a clear dish layered up with extra fruit and cream.
Can I make this sugar-free?
Yes. Use sugar-free pudding mix, light cream cheese, and a sugar-free whipped topping. The flavor will still be delicious!
Can I use banana cream pudding instead of French vanilla?
Definitely! It adds even more banana flavor.
How do I keep bananas from browning?
Toss banana slices in lemon juice or orange juice before layering.
-Conclusion: A Dessert That Delivers Every Time
Strawberry Banana Pudding is everything you want in a no-bake dessert: creamy, fruity, sweet, nostalgic, and effortlessly impressive. With just a few easy steps and zero oven time, it’s the perfect make-ahead recipe for parties, holidays, or weekend treats.
It’s the kind of dish that feels like a hug—warm, sweet, and made with love. Once you try this strawberry twist on a Southern classic, it’s guaranteed to become a family favorite.
Try this recipe and snap a photo—we’d love to see your layers!
