
Sock It To Me Pound Cake
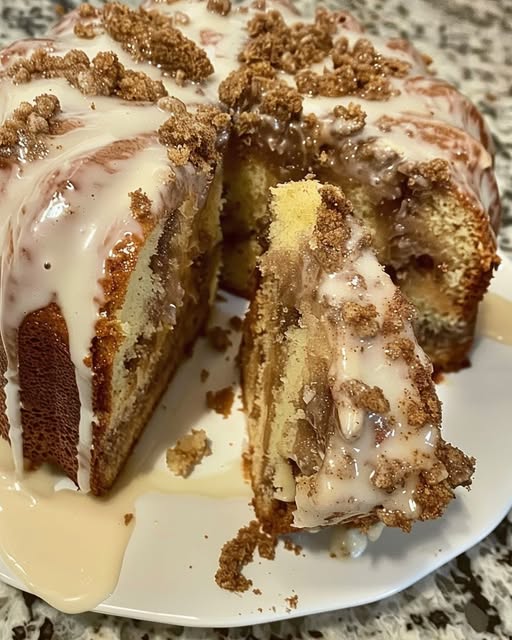
The Sock It To Me Pound Cake is a classic Southern dessert that has stood the test of time. Known for its rich, buttery crumb and a delightful cinnamon pecan swirl hidden within, this cake is the epitome of comfort food. The name “Sock It To Me” became popular in the 1960s and 70s as a slang phrase meaning “give it to me straight” or “bring it on!” This cake, with its bold flavor and hearty texture, lives up to that legacy—it’s a bold, sweet, and utterly satisfying dessert.
A cross between a traditional pound cake and a coffee cake, the Sock It To Me Cake balances sweet vanilla cake with a ribbon of spiced filling and finishes with a light glaze. It’s often served during the holidays, potlucks, or Sunday dinners, but it’s versatile enough to be enjoyed any time of year. Whether you’re new to baking or a seasoned pro, this recipe offers a perfect blend of simplicity and indulgence.
Ingredients:
For the Cake:
-
1 box (15.25 oz) yellow cake mix
-
1 cup sour cream
-
¾ cup vegetable oil
-
¼ cup granulated sugar
-
¼ cup water
-
4 large eggs
-
1 teaspoon vanilla extract
For the Filling:
-
½ cup chopped pecans
-
2 tablespoons light brown sugar
-
2 teaspoons ground cinnamon
-
1 tablespoon all-purpose flour (optional, helps prevent sinking)
For the Glaze:
-
1 cup powdered sugar
-
1–2 tablespoons milk (adjust for desired consistency)
-
½ teaspoon vanilla extract
Preparation:
Step 1: Preheat the Oven
Preheat your oven to 350°F (175°C). Grease and flour a 10-inch bundt pan generously, or use a baking spray with flour included to ensure the cake doesn’t stick.
Step 2: Prepare the Cake Batter
In a large mixing bowl, combine the yellow cake mix, sour cream, vegetable oil, granulated sugar, water, eggs, and vanilla extract. Use a hand mixer or stand mixer to beat the ingredients on medium speed for about 2 to 3 minutes, or until the batter is smooth and well-blended. Scrape down the sides as needed to incorporate all the ingredients.
Step 3: Mix the Filling
CONTINUE READING ON THE NEXT PAGE
