
- Nutty Crunch: Add 1/2 cup of chopped nuts such as almonds, walnuts, or pecans to the oat mixture. This will give the bars a nice crunch and enhance the flavor. You can mix the nuts in when you combine the oats with the melted butter and brown sugar.
- Dried Fruit: Incorporate 1/2 cup of dried fruits like raisins, cranberries, or chopped apricots into the oat mixture. This adds a chewy texture and a hint of natural sweetness. Just fold them in with the oats before pressing the mixture into the pan.
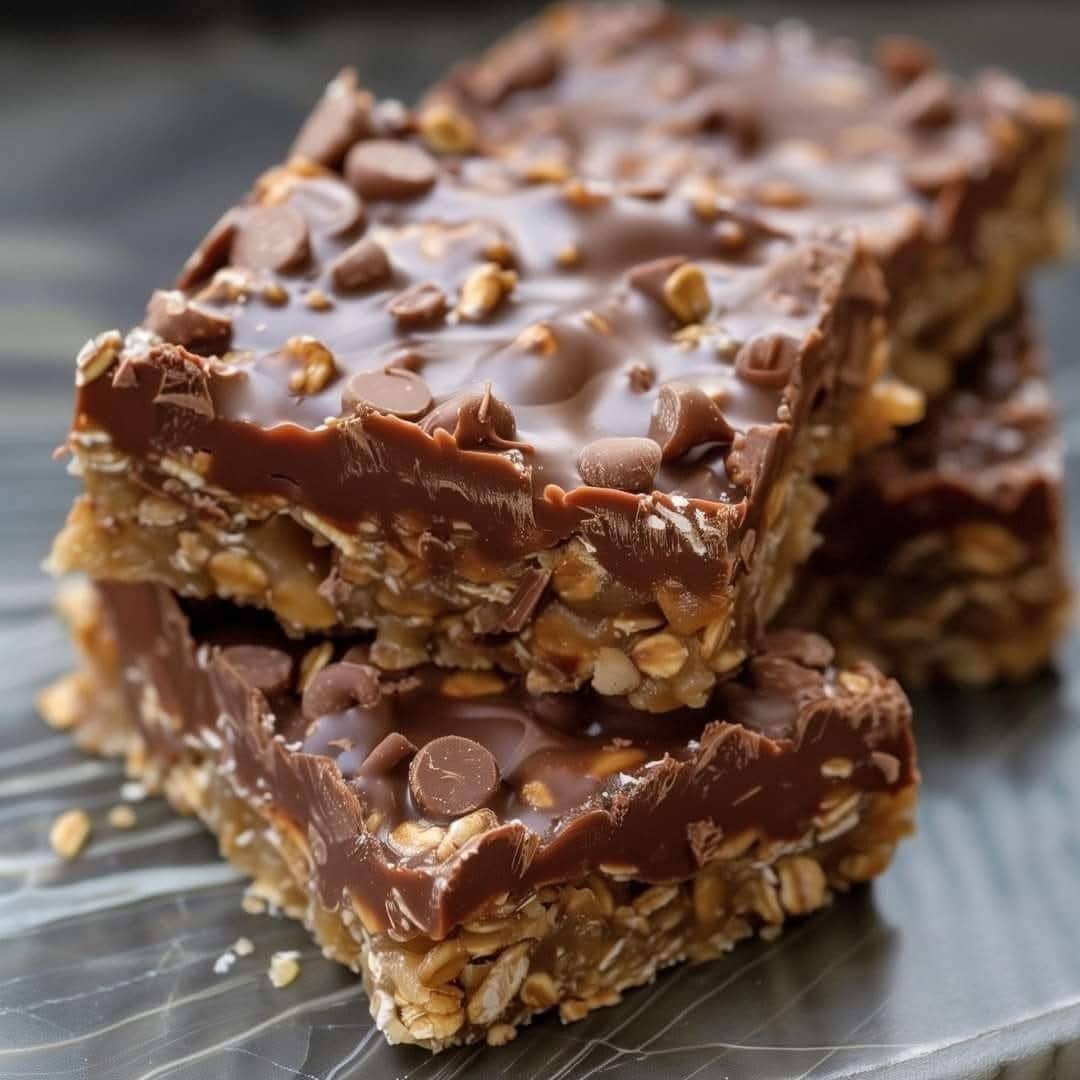
- Chocolate Drizzle: For an extra chocolatey finish, melt an additional 1/2 cup of chocolate chips and drizzle it over the top layer of oats after pressing it down. This adds a beautiful presentation and enhances the chocolate flavor.
- Flavor Variations: You can switch up the flavor by using different types of nut butter, such as almond butter or cashew butter, instead of peanut butter. This will change the taste profile of the bars.
- Spices: Consider adding a pinch of cinnamon or a dash of sea salt to the oat mixture for added depth of flavor. Just a small amount can really elevate the taste.
- Coconut Flakes: Mix in 1/2 cup of unsweetened shredded coconut to the oat mixture for a tropical twist. This will add both flavor and texture.
- Protein Boost: If you want to make the bars more filling, consider adding a scoop of protein powder to the oat mixture. This is great for a post-workout snack.
Here are some tips to enhance your No-Bake Chocolate Oat Bars:
- Use Fresh Ingredients: Always use fresh oats and high-quality chocolate. Fresh ingredients can significantly affect the taste and texture of your bars.
- Properly Measure Ingredients: Ensure you measure your ingredients accurately, especially the oats and nut butter, as this can impact the consistency of the mixture.
- Press Firmly: When you combine the mixture in the pan, press it down firmly. This helps the bars hold together better once set.
- Chill Long Enough: Allow the bars to chill in the refrigerator for at least 2-3 hours or until they are firm. This will make them easier to cut and give them a better texture.
- Use Parchment Paper: Line your pan with parchment paper, leaving some overhang. This will make it easier to lift the bars out once they are set.
- Cut with a Warm Knife: If you find it difficult to cut the bars, try running your knife under hot water and wiping it dry before cutting. This will help achieve cleaner edges.
- Experiment with Flavors: Don’t hesitate to try different flavors or add-ins, like spices or extracts, to customize your bars to your liking.
To store your No-Bake Chocolate Oat Bars, follow these steps:
- Cool Completely: Make sure the bars are completely cooled and set before storing them. This prevents condensation from forming, which can make them soggy.
- Cut and Wrap: Once they’re set, cut the bars into individual pieces. You can wrap each bar in plastic wrap or parchment paper to keep them fresh.
- Airtight Container: Place the wrapped bars in an airtight container. This helps to keep them from absorbing any odors from the fridge and maintains their texture.
- Refrigerate: Store the container in the refrigerator. The bars can typically last for about 1-2 weeks when stored this way.
- Freezing Option: If you want to keep them for a longer period, you can freeze the bars. Just make sure to wrap them well and place them in a freezer-safe container. They can last for up to 3 months in the freezer. When you’re ready to eat them, let them thaw in the fridge overnight.
Following these steps will help keep your bars fresh and delicious!
