Instructions
Step 1: Prepare the Crust
-
In a medium bowl, mix together the graham cracker crumbs, melted butter, and sugar until combined.
-
Divide the mixture evenly among 12 mini cheesecake molds or muffin liners, pressing it down firmly with the back of a spoon.
-
Place in the refrigerator while preparing the filling.
Step 2: Make the Cheesecake Filling
-
In a large bowl, beat the softened cream cheese, powdered sugar, and vanilla extract until smooth and creamy.
-
In a separate bowl, whip the heavy cream until stiff peaks form (about 2-3 minutes).
-
Gently fold the whipped cream into the cream cheese mixture, making sure not to deflate it.
-
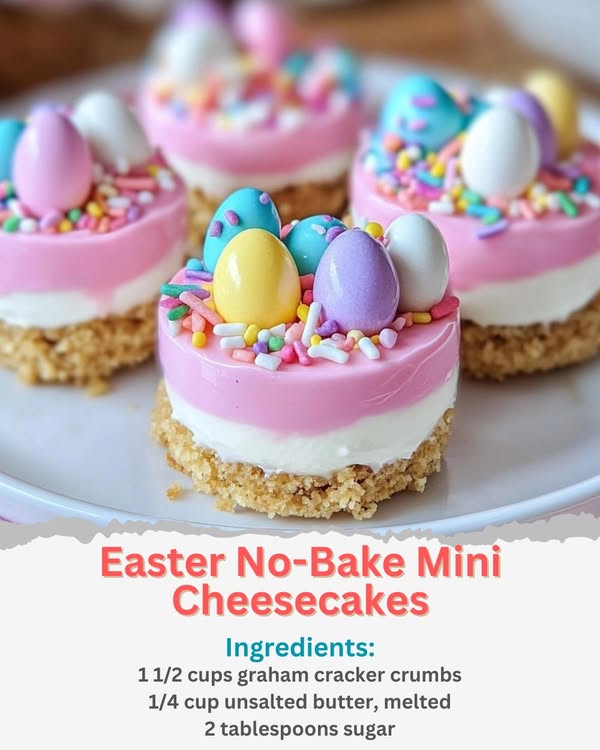
Spoon or pipe the cheesecake filling over the chilled crusts, smoothing the tops.
Step 3: Add the Topping
-
Melt the white chocolate in the microwave in 30-second intervals, stirring after each interval until smooth.
-
Add a few drops of pink food coloring (or any pastel shade of choice) and stir until evenly colored.
-
Spread a thin layer of the melted chocolate over each cheesecake.
Step 4: Decorate & Chill
-
Sprinkle each cheesecake with Easter sprinkles and top with mini candy eggs for a festive look.
-
Refrigerate for at least 2 hours (or overnight for best results) before serving.
Step 5: Serve & Enjoy!
-
Gently remove the cheesecakes from the molds and serve chilled.

