
What’s the Best Way to Store These Delectable Balls?
Good news—these are low-maintenance delights. Store them in an airtight container in the fridge for up to 3-4 weeks. Layer them with wax or parchment paper to prevent sticking. Need to save some for later? These peanut butter snacks recipes are freezer-friendly, extending their life for up to 5-6 months.
Can You Make These Butterfinger Balls Ahead of Time?
Certainly! These are the perfect make-ahead treats. Prepare the balls, freeze them, and when you’re ready to serve, all you need to do is dip them in tempered chocolate. They thaw easily at room temperature or can be slow-thawed in the fridge overnight.
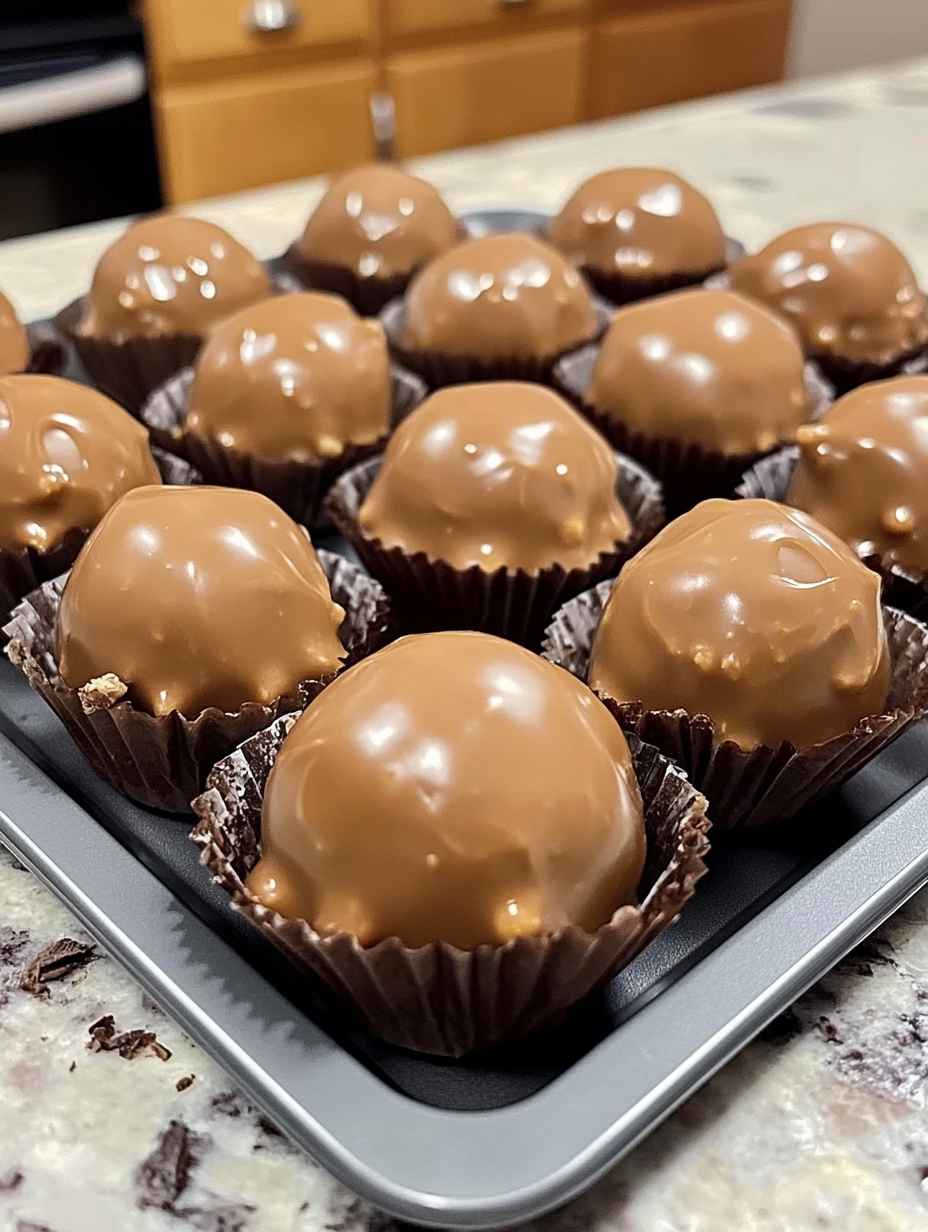
So, there you have it, folks—the ins and outs of creating your own homemade Butterfinger Balls. This no-bake delight transcends the typical boundaries of peanut bars, providing a culinary experience that promises both crunch and creaminess, exquisitely cloaked in a layer of chocolate. Give it a try; your taste buds will thank you!
Ingredients
- 4 tablespoons softened butter ½ stick
- 1 teaspoon vanilla extract
- 8 ounces chocolate bark or chocolate chips
- ½ cup Butterfinger bars crushed
- 1 cup powdered sugar
- 1 cup peanut butter avoid all-natural varieties
- ¾ cup crumbs from graham crackers
- Optional garnishes: additional crushed Butterfinger bars festive sprinkles, or coarse sea salt
Instructions
-
Prepare the Dough: In a mixing bowl, combine the peanut butter and softened butter. Use an electric or stand mixer set to medium speed and blend until the mixture is creamy and uniform.
-
Add Aromatic Notes: Incorporate the vanilla extract and blend thoroughly.
-
Sweeten the Deal: Gradually add the powdered sugar in increments, blending at a low speed. Don’t forget to scrape down the sides of the bowl to ensure even mixing.
-
Crunch Time: Gently fold in the graham cracker crumbs and crushed Butterfinger bars.
-
Shape ’em Up: Align a large cookie sheet with parchment paper. Scoop out approximately 1 to 1½ tablespoons of the dough, roll into neat balls, and place on the cookie sheet.
-
Chilling Phase: Freeze the dough balls on the sheet for roughly 30 minutes until they are completely firm.
-
Melting the Chocolate
-
Chocolate Symphony: Once the dough balls are chilled, proceed to melt the chocolate. Utilize a microwave-safe bowl and heat in 30-second spurts at 50% power, stirring in between each interval. Be cautious not to overheat; some lumps should remain and will melt as you stir.
-
Coat and Decorate: Submerge each chilled ball into the luscious melted chocolate. You can fully coat them or leave a bit of the peanut butter mixture exposed.
-
Finishing Touches: Add a sprinkle of additional crushed Butterfinger bars, holiday-themed sprinkles, or a dash of flaky sea salt for that extra pop.
-
The Grand Finale: Allow the chocolate to solidify completely before indulging in your Butterfinger Bliss Balls.
Notes
- Store these delights in an airtight container and refrigerate for up to a week.
- Stick to conventional peanut butter brands like Jif or Skippy, as all-natural varieties can be too oily.
- For a smoother texture, chocolate bark is recommended. Alternatively, you can use a mix of chocolate bark and chocolate chips or opt for tempered chocolate chips.
- A double boiler can be used for melting chocolate at a low or medium-low heat setting if you prefer that method.
